Preparing Your Artwork
Here are some guidelines and specifications that will help you to properly prepare your booklet's artwork. These build on the general concepts shown above.
Page-Size
- In the application that you are using to layout your pages you should set the document size to be the final-size/trim-size.
- For example, if your booklet is 8.5in x 11in, then your document's page-size (final-size/trim-size) should be 8.5in x 11in.
- Page layout applications (Adobe InDesign, QuarkXPress, et. al.) and illustration applications (Adobe Illustrator, et. al.) will have a separate setting to specify the bleed size.
- Use the application's bleed size setting to set the minimum bleed of 0.125in / 3mm.
- Photo-editing applications (Adobe Photoshop) will not have a separate setting for bleed. In this case you should set-up your pages to the overall size, i.e. the final-size/trim-size plus the bleed.
- The overall size is the final-size/trim-size plus bleed.
- Minimum bleed is 0.125in / 3mm additional on all four sides of the page.
- An 8.5in x 11in final-size/trim-size page will have an overall size of 8.75in x 11.25in. The extra 0.25in in the height and width comes from the additional 0.125in added to the left and right (width) and to the top and bottom (height).
Bleeds/Margin/Safety
- The minimum bleed amount in 0.125in / 3mm. You can supply larger bleed but we will only use the first 0.125in / 3mm.
- You should set-up your booklet's pages so that they have a minimum margin/safety of 0.2in / 5mm from all four edges (top, bottom, inside, and outside) of the page.
- If your booklet will be Perfect Bound, Square Bound, or Wire-Coil Bound then you must have a minimum inside margin of 0.4in / 10mm.
"Thin" or Knock-Out Elements
- Thin lines ("rules") must be at least 0.002in / 0.05mm / 0.14pt thick.
- Thin lines that knock-out of a printed area must be at least 0.004in / 0.1mm / 0.28pt thick.
Spreads
- If you are building a two-page spread, then it is OK to supply these pages as a Reader Spread.
- Never supply artwork as Printer Spreads.
Booklets with Spines
- If your booklet has a spine (Perfect Bound or Square Bound booklets have spines) then your cover pages must account for the thickness of the spine.
- There are four cover pages: Outside front, inside front, inside back, and outside back.
- Because the artwork must include the thickness of the spine, the cover pages should be supplied in PDFs separately from the inside pages.
- When laying out a cover page on a booklet with a spine, you must make the cover page wider by an amount equal to half the thickness of the spine. Spine thickness depends on the number of inside pages and the paper selection.
- Please contact us to determine the thickness of the spine for your particular booklet.
Text
- Avoid using font-sizes of 6pt or less.
- Avoid using "thin" typefaces especially when the text knocks-out of an area of solid colors.
- If you have to flatten artwork or for any reason rasterize text, please supply the artwork containing that rasterize text at higher than normal resolution (e.g. 600dpi or more).
- Text is very resolution sensitive and will look better on-screen than on the final printed product.
- Higher than normal resolution for images containing rasterized text will preserve the appearance of the text. This is especially true when the fonts being used have fine features or curves.
Images
- All artwork should be provided as vector artwork whenever possible.
- If artwork can only be provided as an image, then it should meet the minimum resolution of 300dpi (color or grayscale) or 800dpi (1-bit or line-art) at 100% of the final size.
- JPEG images should be converted to CMYK and saved using the highest quality setting.
- TIFF images should be saved uncompressed or with LZW compression only.
- Convert CMY- or CMYK-grays to black-only grays, i.e., build the gray using a percentage of black only.
Native Files
- Please do not send native files such as InDesign page layouts, Photoshop native files (.psd), or Illustrator native files (.ai) unless we request them.
- If you are asked to send in native files, be aware that you will also have to send all linked files/placed images and any fonts that are used in the native file.
Output/Export to PDF
- You must output or export your layout to a PDF. You will need to use a “High Quality” or better setting as well as include document bleed. Failure to do this will compromise the output quality of your images and/or crop any bleed elements to the trim-size.
- All of our InDesign template files include the Adobe PDF Preset “High Quality – Bleed + PDF1.7” which you must use to output PDFs that are optimal for our production process.
- We can also provide a .joboptions file that contains the Adobe PDF Preset “High Quality – Bleed + PDF1.7.”
- You can also set-up your own PDF output settings by reviewing the 6 screen captures below that show you the six configuration pages and the particular settings we use. Note that these PDF settings dialogs are from Adobe InDesign. If you are using a different application, you will have to locate the corresponding settings in that applications PDF settings dialogs.
General Options
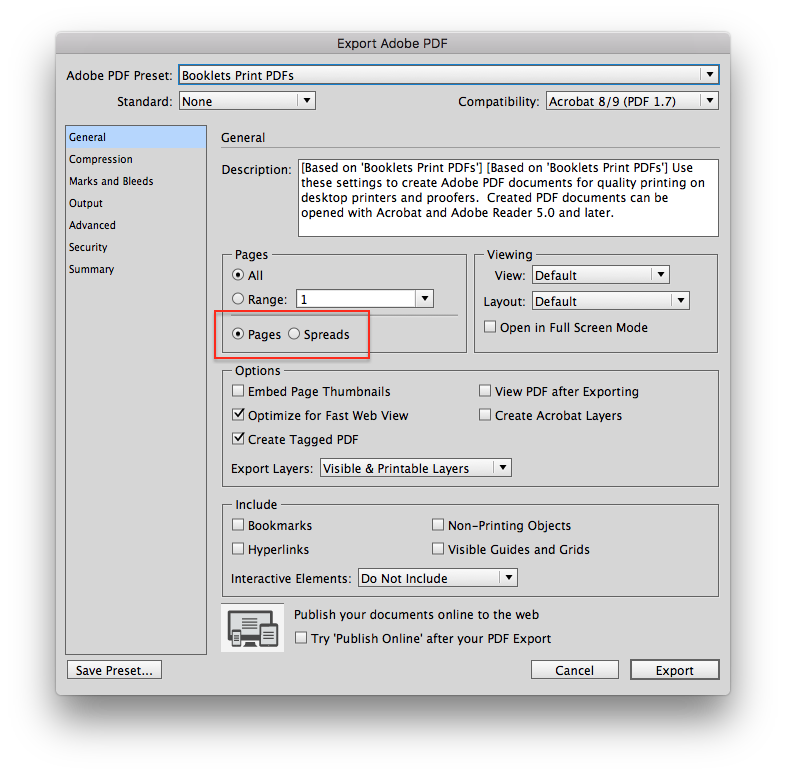
Please output the page layout as Pages. You can output two-page spreads using the Spreads setting.
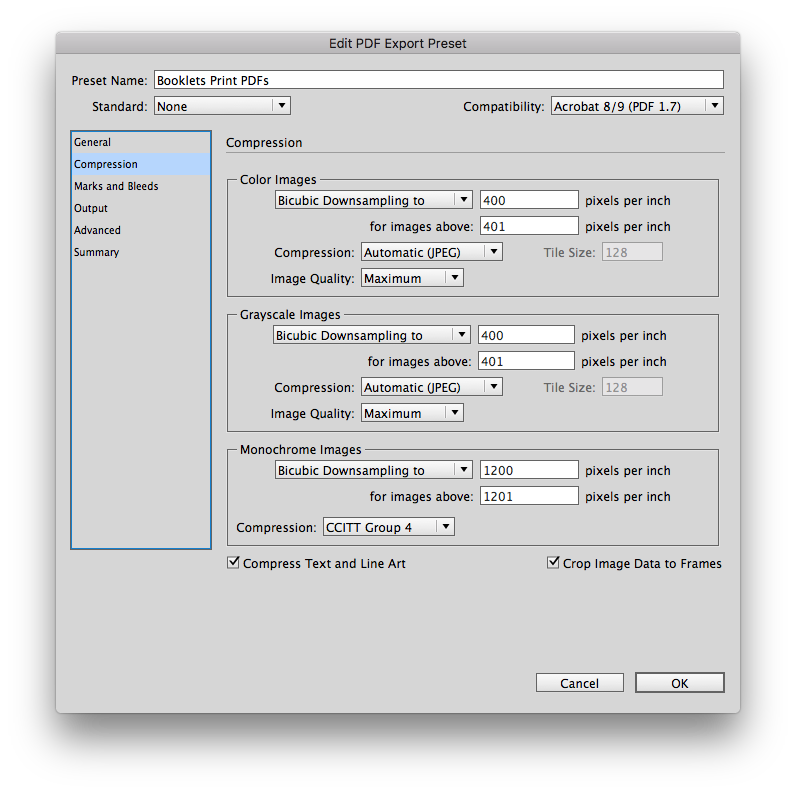
Compression Options
These are set to limit the maximum resolutions for the three types of images. For most images these settings are OK as-is.
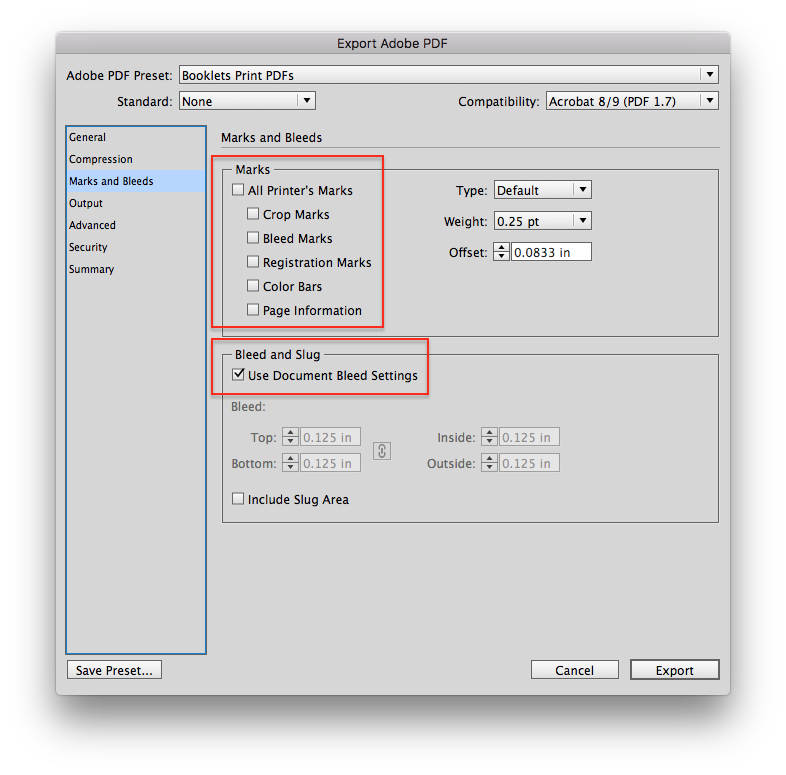
Marks and Bleeds Options
Please do not enable any marks—they are unnecessary. The only setting you need here is in the Bleed and Slug section where the Use Document Bleed Settings is turned on. You will have to set the document-wide bleed setting via the File > Document Setup… command.
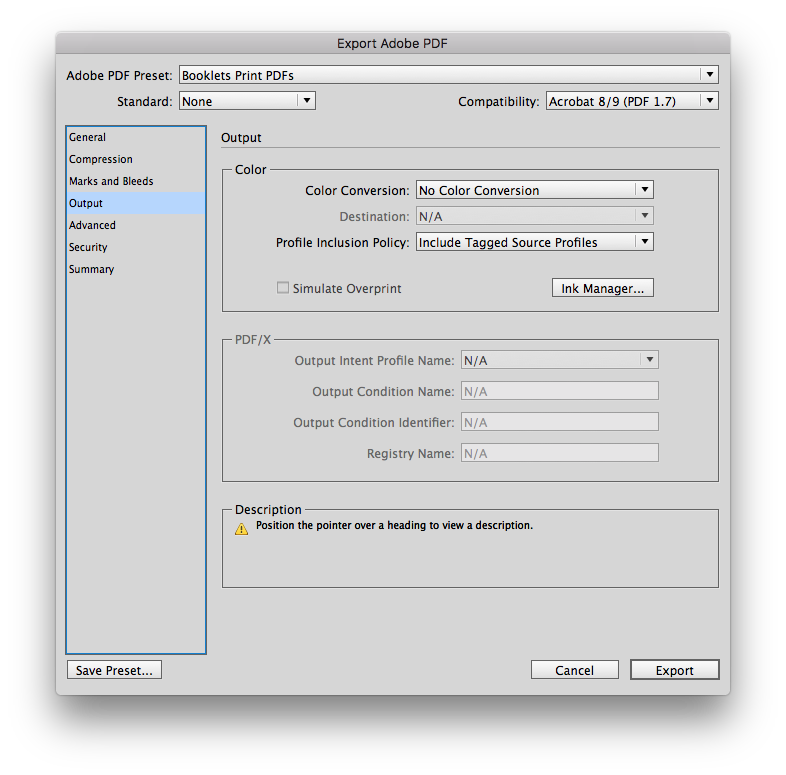
Output Options
Use as-is.
Advanced Options
Use as-is.

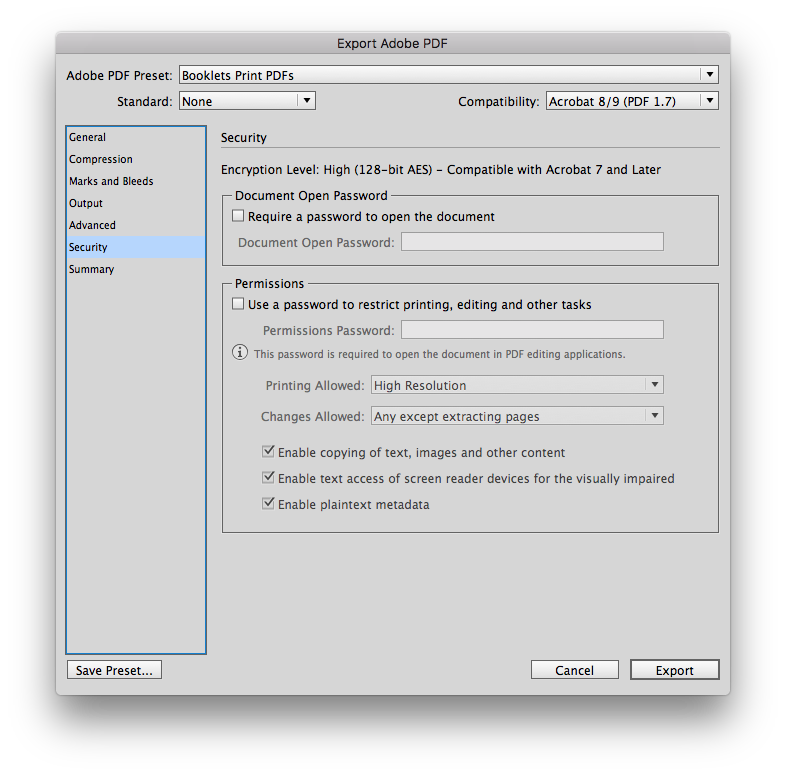
Security Options
Please do not encrypt or password-restrict the PDF so leave these settings as-is.
File verification
Your files are reviewed and verified by our prepress operators before sending to production.
The check will reveal any technical problems present in your files.
We will notify you of any issues that affect the print quality.
In this event, our prepress operator will work with you to resolve the anomalies identified and suggest solutions.
A final PDF will be submitted to you for validation before going into production.
The file verification process
Your files are reviewed and preflighted by our prepress operator before being sent into production. The preflight process will reveal technical issues that are present in the files.
Any issues that may affect print quality, we'll bring to your attention.
Depending on the issues involved, you may receive intermediate proof PDFs that you can use to review the problems that we found and which can help you to address each issue.
Our prepress operator will work with you to resolve problems and suggest possible solutions.
Once no issues were found and your file passes a final review, we'll provide a PDF proof for you to review and accept.